


On this page
A latte is two things done well: a good double shot of espresso and milk that suits the drink. Everything else is preference. If you want the definitions and ratios first, start with what a latte is; this page is the how-to.
This is the routine we use every day on our Breville Oracle. If you have never pulled a shot, read how to make espresso first; this guide assumes the basics and adds the milk. The machine grinds, doses, and textures milk automatically, but the steps below work on any semi-automatic espresso machine with a steam wand. If you are still shopping for one, our best espresso machines guide covers options at every budget.
What You Need
- Fresh whole-bean coffee. Beans roasted in the past few weeks make the biggest difference to the shot.
- An espresso machine with a grinder. Built in, like the Oracle, or a separate burr grinder.
- A small kitchen scale. Weighing the beans and the shot is the fastest way to get consistent results.
- Cold milk. Whole milk is the easiest to steam and the richest in the cup.
- A milk jug for a hot latte, or a tall glass and ice for an iced one.
- A knock box or bin for the spent puck.


Step 1: Weigh 18 Grams of Beans
Put a cup on the scale, tare it to zero, and pour in beans until it reads 18 grams. That is a standard double-shot dose for a 58 mm basket and the dose we use for every latte.

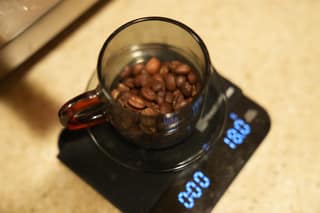
Weighing the beans instead of filling the hopper does two things. The dose is identical every time, so grind changes are the only variable. And the hopper stays empty, so beans are not sitting in it going stale between drinks. We call this single dosing, and it is the first habit we would suggest to anyone.
Step 2: Load the Hopper and Grind Into the Portafilter
Tip the weighed beans into the hopper and lock it. Then seat the portafilter in the grinder cradle and start the grinder.
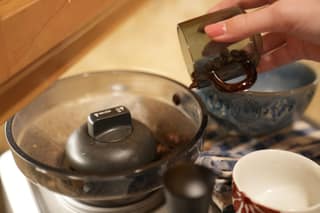
On the Oracle, pushing the portafilter into the cradle starts the automatic grind and dose cycle. On a separate grinder, grind the full 18 grams into the basket.
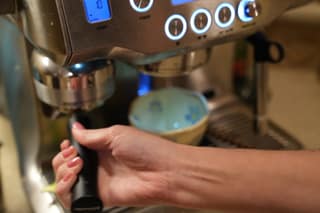
If you are new to the machine, pick a grind setting in the middle of the range and leave it there for the first few shots. Judge the result by the timing in Step 5, not by how the grounds look.
Step 3: Level and Tamp
The grounds should sit level in the basket with no mound or dimple. Run a finger across the top to even them out, then tamp straight down with firm, steady pressure.
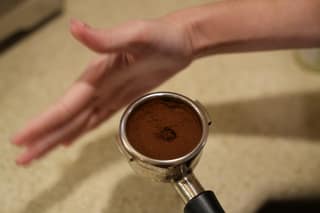
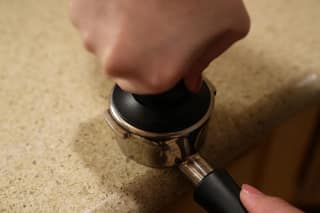
The Oracle has an automatic tamp built into the grinder cradle. On our machine we still level the dose and finish with a hand tamp. That is our habit, not a requirement, and the auto tamp alone is fine. Our tamping guide covers what a good puck looks like and the mistakes that cause channeling.
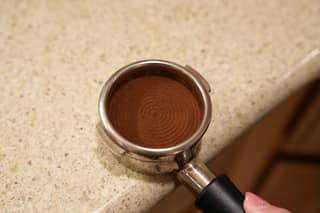
Wipe any loose grounds off the rim of the basket so the portafilter seals cleanly in the group head.
Step 4: Flush and Lock In
Run a second or two of water through the empty group head before locking in the portafilter. This clears old grounds off the shower screen and brings the group up to temperature.

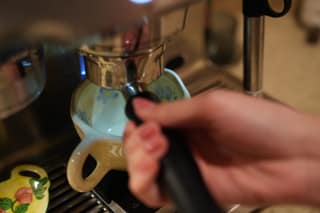
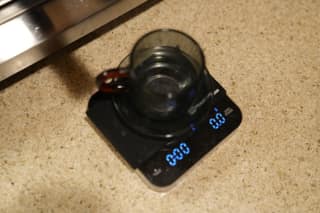
Then lock the portafilter into the group head and put your cup on the scale underneath. Tare the scale to zero.
Step 5: Pull the Shot Onto a Scale
Press the double-shot button and watch the scale and the clock. We are aiming for 36 to 40 grams of espresso in the cup in 25 to 30 seconds, counting from when the pump starts.
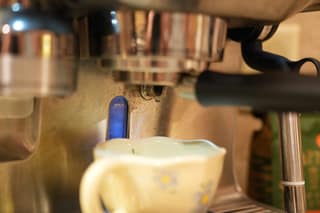
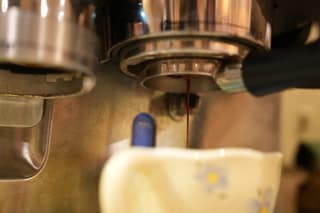
If the shot hits 40 grams in 15 seconds, the grind is too coarse: go one step finer next time. If it is still dripping at 35 seconds, go one step coarser. Change only the grind. Keep the dose at 18 grams so you are comparing like with like. The espresso ratio guide explains the numbers, and the dial-in guide covers fixing fast and slow shots.
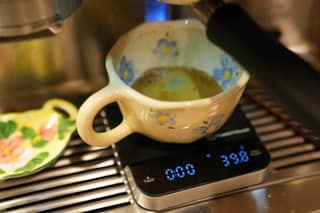
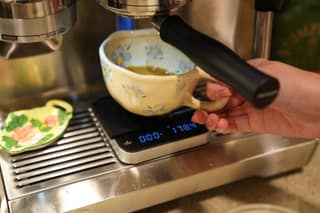
Lift the cup off the scale as soon as the machine stops. The espresso is ready to use now; it loses its crema and brightness within a minute or two, so do the milk right away.
Step 6a: Hot Latte, Steam the Milk
Fill the jug with cold milk to just below the spout. Purge the wand for a second, then lower the tip just under the surface of the milk and start steaming.
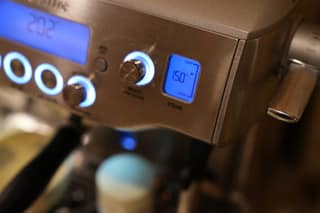
For a latte you want a thin layer of glossy microfoam, not a stiff cap. Keep the wand tip near the surface for only the first few seconds to add air, then sink it deeper to spin the milk. Stop between 140 and 150°F. The Oracle's automatic wand does all of this once you set the temperature and texture.
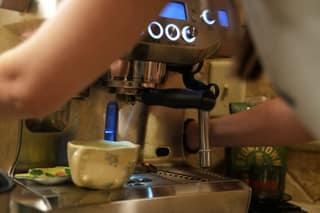
Tap the jug on the counter to pop big bubbles, swirl it until the milk looks like wet paint, and pour into the espresso from a few inches up, finishing close to the surface.
Wipe the wand with a damp cloth and purge it immediately. Dried milk is the one cleaning job that gets harder every minute you wait.
Step 6b: Iced Latte, Milk Over Ice, Espresso Last
Fill a tall glass with ice. Pour cold milk over the ice until the glass is about two-thirds full.
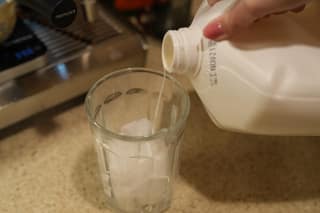
Then pour the double shot on top. Pour it onto the milk, not directly onto the ice, so the hot espresso does not melt everything on the way down.
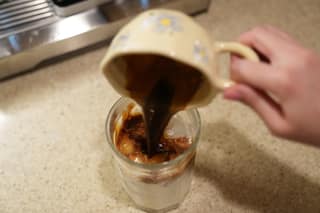
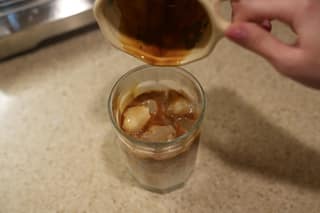
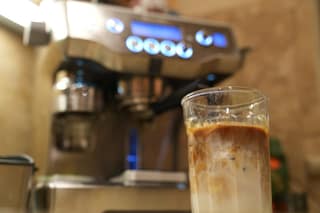
Stir if you like, or leave the layers and let the first sip be mostly espresso. If you want it sweet, add syrup to the milk before the espresso so it dissolves. The iced latte guide goes deeper on keeping it cold and strong.
Step 7: Clean Up Before You Drink
Knock the spent puck into the knock box, rinse the basket, and lock the empty portafilter back into the group head so it stays warm for the next shot.


A dry puck that pops out in one piece is a good sign that the dose and tamp were right. A soupy basket usually means the dose was too low for the basket, not that anything is wrong with the machine. The full daily, weekly, and monthly routine is in our espresso machine cleaning guide.
Fixing a Latte That Does Not Taste Right
- Sour, thin, and fast: the shot is under-extracted. Grind finer.
- Bitter, harsh, and slow: over-extracted. Grind coarser.
- Weak and milky: too much milk for one double shot. Use a smaller cup or glass, or pull two doubles for a large iced latte.
- Milk tastes cooked: it went past about 160°F. Stop sooner.
- No crema: the beans are stale. Nothing else fixes this.
Change one thing at a time, then taste the next drink. This is the same advice we give in our Breville Oracle review, where occasional shot inconsistency is our main complaint. A one-click grind change fixes it almost every time.
Which Machine Should You Make It On?
Any machine with a real pump and a steam wand can make a good latte. The Oracle is our pick because it handles grinding, dosing, and milk while leaving the shot in our hands, and it has held up for more than two years of daily use. Our best espresso machines guide walks through cheaper manual options and fully automatic ones, including which to choose if milk drinks are your priority.
On mornings when we want a full pot instead of a latte, the Moccamaster KBGV next to the Oracle handles that job. We explain when we reach for each one in espresso vs. drip coffee.
More Coffee Guides
Frequently asked questions
How much espresso goes in a latte?
A standard latte uses a double shot. We dose 18 grams of coffee and stop the shot around 36 to 40 grams in the cup, which is roughly a 1:2 ratio. Use a scale under the cup rather than guessing by eye.
What milk is best for a latte?
Whole milk steams the most reliably and tastes the richest. Two percent works. Oat milk is the easiest plant-based option to texture. Whatever you use, start with it cold from the fridge.
How do you make an iced latte without it tasting watery?
Fill the glass with ice, add cold milk, and pour the espresso on top last. Pouring hot espresso straight onto ice melts it fast. Pouring it onto the milk keeps the drink cold and keeps the flavor concentrated.
What temperature should latte milk be?
Around 140 to 150°F for a hot latte. Hotter than about 160°F and the milk starts to taste scalded and loses its sweetness. Our Oracle's automatic wand is set to 150°F.
Can I make a latte without an espresso machine?
You can make a latte-style drink with strong moka pot or AeroPress coffee and frothed milk, but it will not have real espresso's body or crema. A drip brewer like our Moccamaster makes great coffee, but it is a different drink.

