


On this page
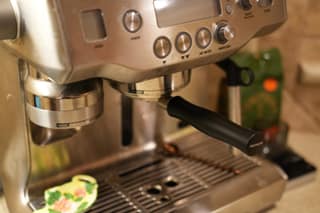
The Oracle has more buttons and dials than most espresso machines, and the first look at the control panel can be intimidating. In practice we use the same six steps every day, and most of the panel never gets touched.
This is the routine on our Breville Oracle BES980XL. Read the manual for first-time setup and cleaning cycles; this guide is for making a drink once the machine is set up.
The Control Panel, Briefly
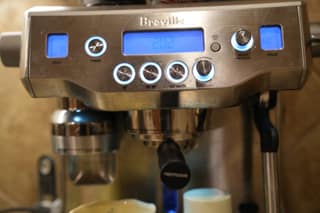
- Grind dial and display on the left set the grind size, 1 to 45.
- Power button.
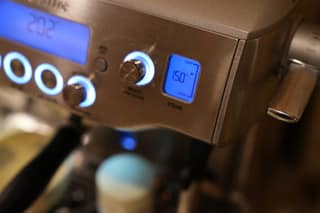
- Main LCD shows the brew temperature (ours reads 202°F) and the shot timer.
- One-cup and two-cup buttons start a single or double shot.
- Hot water button for Americanos and preheating cups.
- Steam dial and display on the right set milk temperature and foam level. Ours reads 150°F.
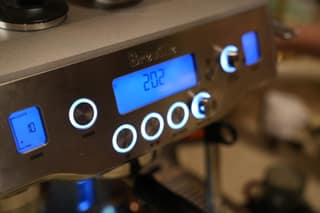
That is everything we use. The menu behind the dials has volume programming, pre-infusion settings, and cleaning prompts; we set those once and left them.
Step 1: Turn It On and Load the Hopper
Press power. The lights flash while both boilers heat, which takes a few minutes. While it heats, weigh out the beans. We single dose 18 grams per double shot rather than filling the hopper, which keeps the beans fresh and the dose exact.
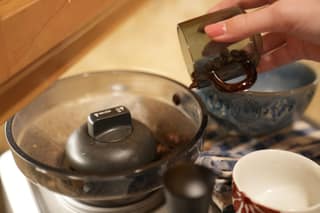
Make sure the water tank is full. The display will tell you if it is not.
Step 2: Seat the Portafilter in the Grinder Cradle
The grinder outlet is on the left side of the machine, with a cradle shaped for the portafilter. Lift the portafilter up into it so the ears sit in the slots.
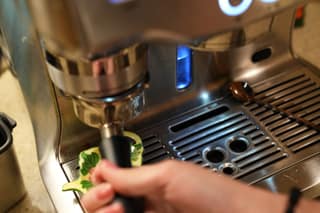
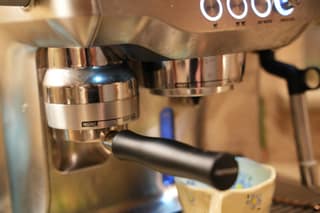
Step 3: Push In to Grind, Dose, and Tamp
Push the portafilter in and rotate it slightly to the right, then let it return to center. That starts the cycle: the grinder runs, fills the basket, and the built-in tamper presses the dose. Leave it alone until the cycle finishes and the cradle releases.
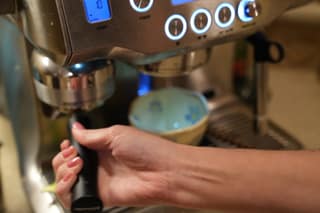
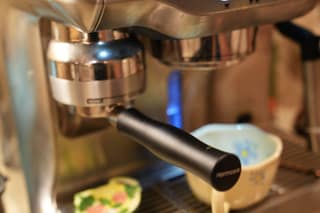
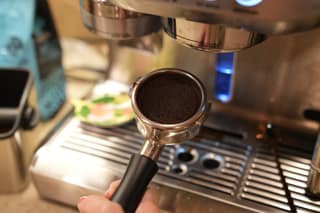
The puck should come out level and compressed. Ours sometimes shows a slight dimple from the dosing, so we level it with a finger and give it a quick hand tamp. That is habit, not a requirement; our tamping guide covers what a good puck looks like either way.
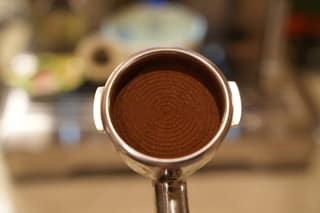
Step 4: Flush, Lock In, and Pull the Shot
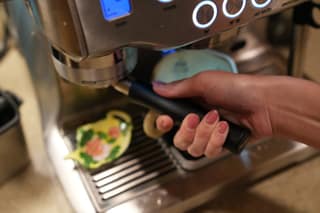
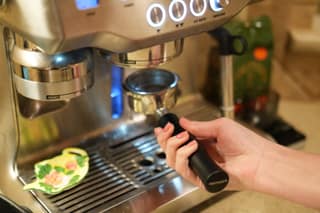
Press the one-cup button briefly with nothing in the group head to flush a second of water through the shower screen. Then lock the portafilter in, turning it to the right until it is snug against the mark.
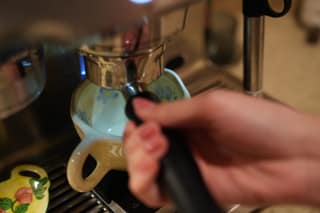
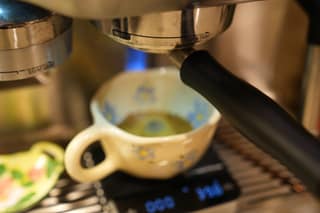
Put your cup on the scale under the group head and tare it. Press the two-cup button. The machine runs a low-pressure pre-infusion for a few seconds, then ramps to full pressure. Watch the scale and stop the shot at your target. We stop around 38 grams and it settles just under 40. Our espresso ratio guide explains the numbers.
If the shot runs fast and tastes sour, go one click finer on the grind dial. Slow and bitter, one click coarser. That is the entire dial-in process.
Step 5: Steam the Milk (or Skip It)
For a hot latte, fill the jug with cold milk to the line, purge the wand briefly over the drip tray, swing it out, and lower the tip just below the milk's surface. Press the steam lever. The wand textures the milk to the temperature and foam level set on the right-hand dial and stops on its own.
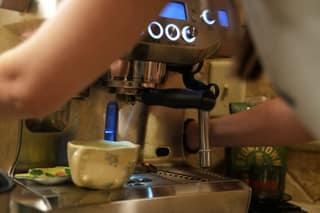
Because the Oracle has two boilers, you can start the milk while the shot is running. For an iced latte, skip the wand and pour cold milk over ice instead. Both versions are in our latte guide.
Step 6: Clean Up
Remove the portafilter, knock out the puck, rinse the basket, and lock the empty portafilter back in. Wipe the wand and lower it over the tray to purge. That is about thirty seconds, and it is the whole daily routine.
The machine prompts for its cleaning cycle and descaling when they are due. Our cleaning routine guide covers the daily, weekly, and monthly jobs.
Settings We Changed Once and Left
- Grind: 10 for most medium roasts.
- Brew temperature: 202°F.
- Steam: 150°F, low foam.
- Shot volume: we stop manually by weight rather than using the programmed volume.
Everything else is at the defaults. After more than two years, that is still true, which says something about how little fiddling this machine needs once it is set up.
More Coffee Guides
Frequently asked questions
How long does the Breville Oracle take to heat up?
A few minutes from cold to ready. The display shows the brew temperature climbing and the buttons stop flashing when both boilers are up to temperature. We turn it on, weigh beans, and it is ready by the time we are.
What grind setting should I use on the Breville Oracle?
The dial runs from 1 (finest) to 45 (coarsest). Start around 10 to 12 for a medium roast and adjust one click at a time based on shot time. Ours lives at 10.
What brew temperature should the Breville Oracle be set to?
The default is around 200°F and the adjustable range is small. Ours is set to 202°F and has not moved in two years. Change the grind before you change the temperature.
Do you have to tamp with the Breville Oracle?
No. The grinder cradle tamps automatically. We level the dose with a finger and give it a hand tamp out of habit, but the automatic tamp alone is designed to be enough.
How do you steam milk on the Breville Oracle?
Fill the jug to the line with cold milk, purge the wand, submerge the tip just under the surface, and press the steam lever. Set the temperature and foam level on the right-hand dial and display. It stops on its own at the set temperature.


